
Roblox: 99 Nights in the Forest – The Complete Crafting Guide for Smart Survivors
Master Roblox: 99 Nights in the Forest crafting with this complete guide to Scrap, Wood, upgrades, and every essential craftable item.
Surviving Roblox: 99 Nights in the Forest isn’t just about outrunning whatever lurks between the trees. It’s about building smarter, not harder. The crafting system is the camp’s brain—quiet, practical, and absolutely essential. A survivor who ignores it is basically a very fast snack. So whether the counter says Night 2 or Night 92, it’s time to turn Scrap into strategy.
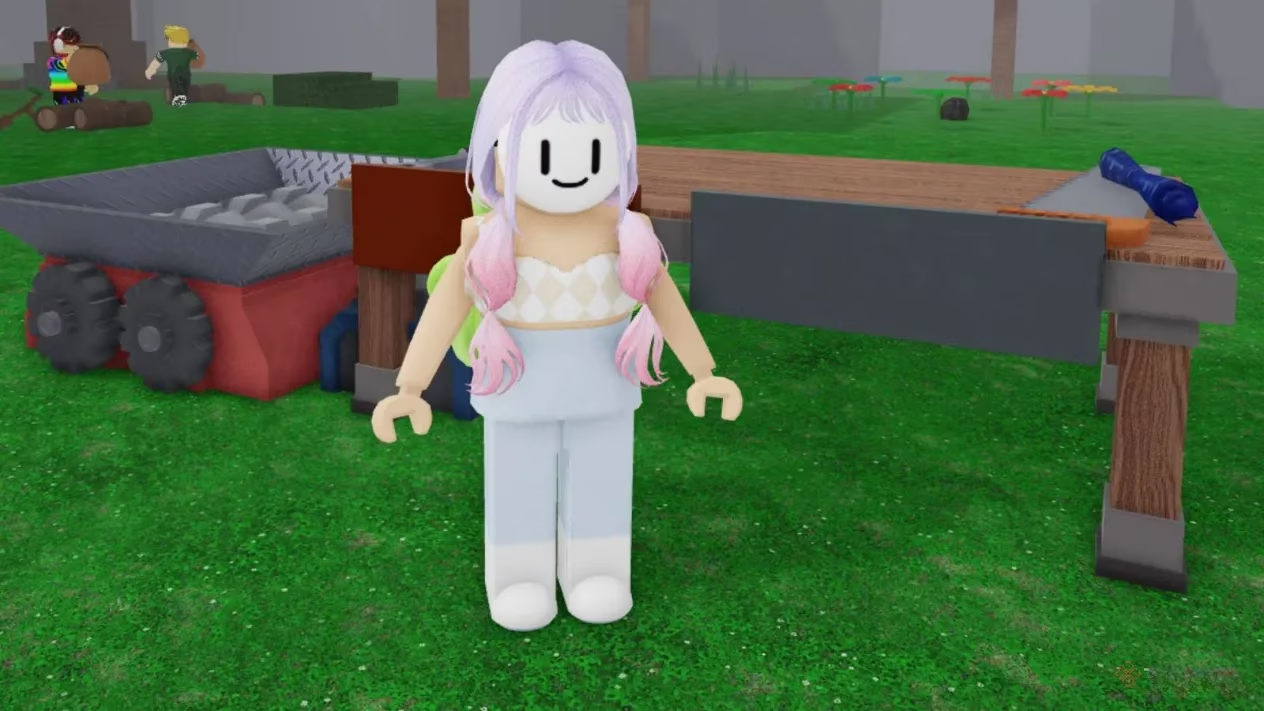
The Grinder is the heart of your camp. It hums with potential, waiting for whatever odd little object you drag back from the woods. Toss in items you find around the map, and it converts them into Scrap or Wood. Small icons above each object reveal what it yields, so there’s no guesswork—just a steady rhythm of feed, collect, repeat. A counter on the front of the crafting table tracks your stock. Once enough materials are sitting there, interact with the Grinder to open the crafting menu. Simple. Almost too simple. That’s where the real decisions begin.
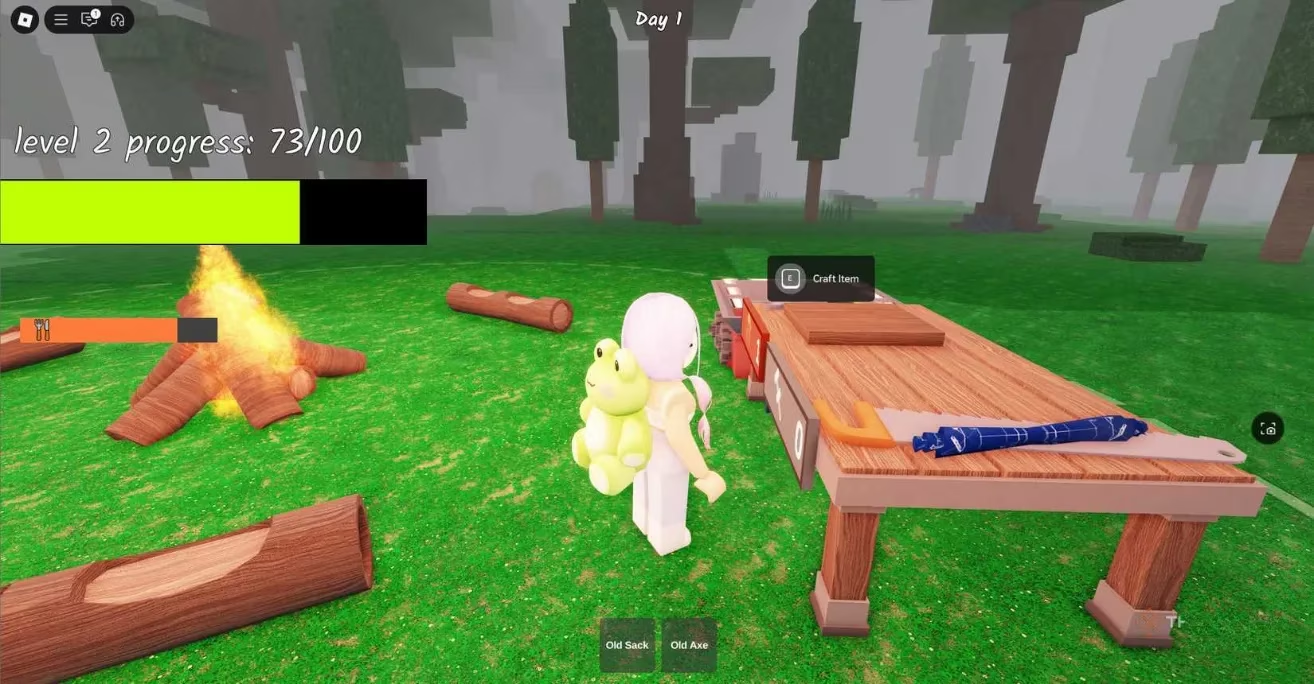
How Crafting Actually Works
Head to the Grinder at the Campfire site, toss in objects, and watch them become Scrap or Wood. The counter on the crafting table tells you how much of each material you have stored. When you’re ready, interact with the Grinder to access the crafting menu. That’s the whole loop—but the items you unlock along the way are what keep the camp alive.
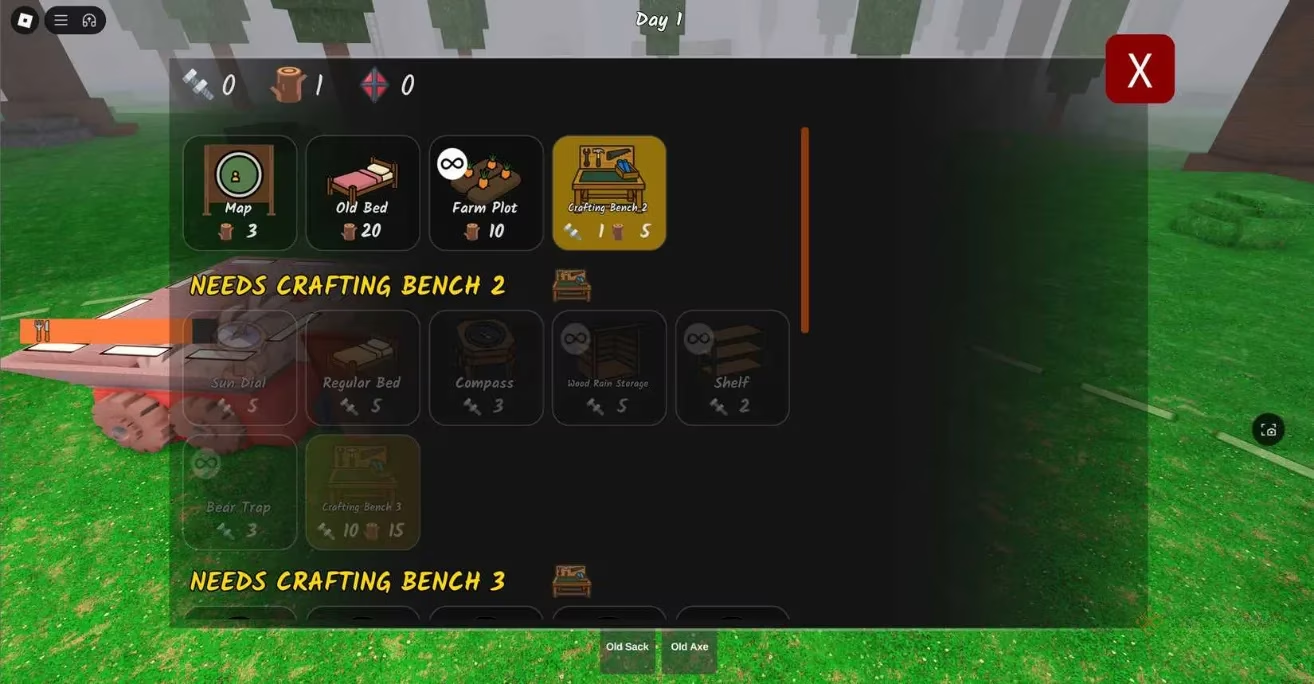
Every Craftable Item, Tier by Tier
The following tables list every craftable item in 99 Nights in the Forest. Keep them handy—your future self will thank you.
Crafting Bench Tier One Items
| Item | How To Use | Needed Materials |
|---|---|---|
| Crafting Bench 2 | Unlocks Tier Two recipes. Place it next to the Grinder. | 1 Scrap, 5 Wood |
| Farm Plot | Place near your base to grow Carrots automatically every two in-game days. | 10 Wood |
| Map | Keep it in your inventory to view the full world map at any time. | 3 Wood |
| Old Bed | Place inside your base to advance the in-game day by one. | 20 Wood |
Crafting Bench Tier Two Items
| Item | How To Use | Needed Materials |
|---|---|---|
| Bear Trap | Set these to trap approaching enemies. They reset, so you can reuse them multiple times. | 3 Scrap |
| Compass | Equip it to see which direction you’re facing. Useful when exploring or returning to base. | 3 Scrap |
| Crafting Bench 3 | Upgrade to this to unlock Tier Three recipes. | 15 Scrap, 15 Wood |
| Regular Bed | Use it to advance the day cycle by one. | 5 Scrap |
| Shelf | Place in your base to organize items. Helps with inventory management. | 2 Scrap |
| Sun Dial | Check how much time is left before day or night changes. | 5 Scrap |
| Wood Rain Storage | Store logs and Wood here to keep them from getting wet. Wet Wood can’t be added to the fire. | 5 Scrap |
Crafting Bench Tier Three Items
| Item | How To Use | Needed Materials |
|---|---|---|
| Biofuel Processor | Feed it logs and animal meat to create Biofuel. A long-term fuel source and crafting material. | 12 Scrap, 12 Wood |
| Boost Pad | Set near your base entrance to launch yourself outward quickly. Great for fast travel. | 15 Scrap, 10 Wood |
| Crafting Bench 4 | Unlocks the final tier of crafting, including Teleporters and Oil Drills. | 30 Wood, 20 Scrap, 2 Biofuel |
| Crock Pot | Combine raw food here to make more effective meals. Place near your base to keep up with hunger. | 15 Scrap, 10 Wood |
| Good Bed | Use it to advance the day cycle by one. | 10 Scrap, 10 Wood |
| Lightning Rod | Place around your base to safely redirect lightning. Prevents damage during storms. | 8 Scrap |
| Torch | Place at the edges of your base to extend your safe zone slightly. Useful for lighting up the immediate surroundings. | 6 Scrap, 6 Wood |
Crafting Bench Tier Four Items
| Item | How To Use | Needed Materials |
|---|---|---|
| Ammo Crate | Trade Scrap for Ammo. Set it near your base for quick reloads. | 20 Scrap, 30 Wood, 1 Biofuel |
| Giant Bed | Use it to advance the day cycle by one. | 20 Scrap, 30 Wood, 1 Biofuel |
| Oil Drill | Place it down to start generating Oil automatically over time. | 25 Scrap, 35 Wood, 1 Biofuel |
| Teleporter | Set up two in distant locations to instantly travel between them. | 10 Scrap, 25 Wood, 1 Biofuel |
A Few Campfire Truths
Honestly, if you’re still sleeping on an Old Bed at Night 50, the forest is being polite. Upgrade when you can. The Crafting Bench line is the spine of everything—Tier Two opens up utility, Tier Three adds real safety, and Tier Four turns your camp into a small fortress with teleporters and oil drills. The Biofuel Processor is easy to overlook, but it quietly solves two problems at once: fuel and crafting material. The Wood Rain Storage is another unglamorous hero. Wet Wood is useless in the fire, and a rainy night is not the time to discover that.
A Farm Plot keeps carrots coming every two in-game days, which means hunger stops being a daily panic. A Crock Pot turns raw food into meals that actually matter. Bear Traps reset, so they’re less of a one-time purchase and more of a reusable grudge against anything that wanders too close. Lightning Rods and Torches don’t shout for attention, but they quietly widen your safe zone and keep storms from ruining the party.
And the Teleporter? That’s the endgame flex. Two of them in distant locations turn a dangerous trek into a blink. No rush. The forest isn’t going anywhere. Probably.
Final Word
The crafting menu isn’t a checklist—it’s a conversation with your base. Feed the Grinder, watch the counter, and build in the order that keeps your camp breathing. Tier One gets you stable. Tier Two gets you organized. Tier Three gets you safe. Tier Four gets you mobile. After that, the nights start to feel a little less like a countdown and a little more like a plan. 🪵🔥
Leave a Comment
0 Comments